Summerhouse Building Plans
20 Feet Eight-Sided Summerhouse Construction Diagrams : Matters To Remember While Putting Together A Simple Summerhouse

For example, the Wallingford arbor is perfect for outdoor hot tubs and small sitting areas. Pre-drill the rafters at both ends, before inserting the screws into the hip rafters. Secure two opposite garrets to the roof center. After fitting the roofing, you should remove the braces. Select as per your budget as woods can be expensive. Use a post hole digger to make the holes. Use a saw to make the cuts to the beam, as shown in the (https://www.squaregazeboplans.com/gazebo-blueprints) diagram. Use screws or metal connectors to lock the supports into place tightly. Use hardware to secure the supports into place tightly.
In that example, the pavilion will be about 8 feet tall. We will always encourage you to seek thorough advice from a professional before undertaking any work. Once a foundation is in place and approved by inspectors, the summerhouse can be erected. Corrugated aluminum or fiberglass roofing could be used as roof top coverings in this stage, and you'll need to secure them with nails or hooks. Then drill and bolt the support to the deck at the rim joist or attach it at the corners with angle brackets. So much easier to do on sawhorses than up on a ladder later.
When everything was put together, we relaxed and celebrated a job well done. Double check that the post is still plumb in both directions, (discover this) then go ahead and drive another couple nails into the brace at either end. This table would feature a pedestal base so there won't be too many legs in the way. Push one galvanized post anchor into the wet concrete, and ensure it is square with the pergola's shape and is level, both vertically and horizontally. Then, take the same number of additional boards, or joists, and place them at each interior corner. That was Steve and Blakeney's reason to add a new summerhouse to their back yard.
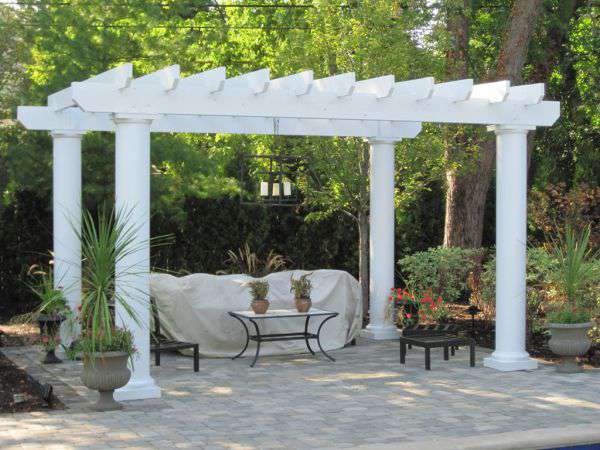
Most column anchors have an upper and lower portion with a horizontal plate in the middle on which a column would rest. Install a series of pavers to create a pathway to the arbor area, or build a trellis to create an attractive passageway to your new outdoor room. We've been searching for weeks for pergola plans. Pergolas are usually square or rectangular in shape and, like gazebos, can either link two structures together or exist in a free-standing capacity. Measure down to the ground at this point and record. If you look at factors like the available time, you might have to reconsider.
Then move the temporary braces for the next ridge board and continue installing rafters. Place the girders properly, as on end has to be over the middle of the top plates, while the other one should be secured to the king post. While a lot of pergolas get hardscape floors, they aren't necessary. If you live in a windy area, these braces will add plenty of support to the frame, so you could create a sturdy and durable structure. Make sure you countersink the head of the screws, otherwise they will be visible. Not always required but it could make things easier to roll on finish with boards laying over a sawhorse instead of overhead.
Stand the post up and grab one of the braces you previously laid down, and bring the brace around into contact with the post. In most of the cases a building permit is required, so you should check out the local building codes before starting the actual constructions. That may not cover your entire patio, but just covering most of an ugly patio makes a huge difference. Level the ledger and pre-drill holes for lag screws through the ledger, and fascia board into the side of the house. Repeat until all of the supports are marked. Taking measurements from the intersections of the chalk lines, we mitered the boards and placed them around the perimeter.
Each should be long enough to reach from the bottom of the footing to about 2 inches below the pier's surface. In fact, this is as simple as landscape construction gets. Sand the whole surface with sandpaper and then apply a few coats of paint or stain to enhance the look of the carport and to protect the components from decay. Although smooth-surfaced batten is sometimes called lattice, it is not sold under this name in all localities. They can also be designed to offer more either through vines, sailcloth, or by attaching additional beams. Always pre-drill the components before inserting the screws, in order to prevent the wood from splitting.