Summerhouse Building Plans
Plans To Assemble 24 Feet Four-Sided Pavilion : 2 Secrets To Construct A Gazebo Accurately

Make sure the brackets are oriented so that sides of opposing corner posts would be parallel to each other. Measure back 350mm from the long point of the cut and pencil mark another 45 degree angle inward. It'll cover the edge of the plywood. If you are in Europe then the standard spike, as used by me measures 69mm x 69mm internal dimension so follow as above but using these figures. Roll the column and make the same cut on the opposite face. (https://www.squaregazeboplans.com/gazebo-designs) There are many options, starting with fitting the columns directly into concrete, up to pouring concrete footings and placing a post anchors, or securing metal braces to a concrete slab.
Continue this action around the perimeter of the pergola roof. Build a pergola over an existing patio saves you a lot of time, money and work. Or, if the marks on the beams don't line up just so. Ideally, these should all be the same length, but if you had problems with your post positioning earlier, you may have to adjust them. Make each hole's depth 6 inches below the frost line in your area. If the base is not level, the decking and wall sections may not fit properly. A arbor is a freestanding, often octagonal-roofed structure. This would create enough room for the support beams to be fully implanted into the ground.
It can be very stable-though you would pay a premium for the best selection of boards-and it accepts wood stains easily and beautifully. The end of each batten should be placed at the center of rafter. Cut off the tube form 6 inches above ground level by using a utility (recommended you read) knife. Then temporarily place an end rafter that has a bird's-mouth notch, and mark the posts for cutoff flush with the top of the rafter. We're going to measure, mark, and cut out the half-lap notches where the main beams overlap the secondary beams. Aluminum is ideal for building an attached pergola.
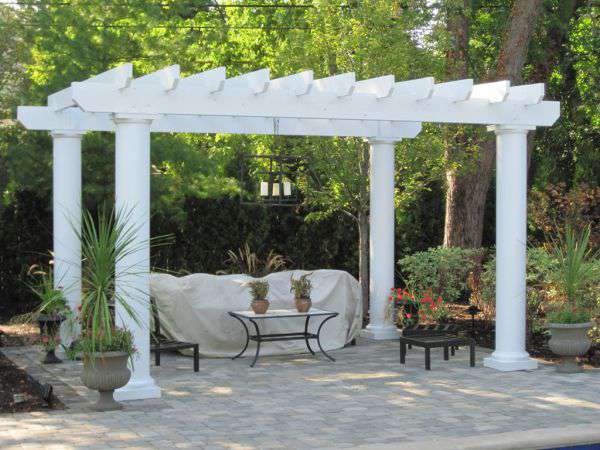
If you're looking for a maintenance-free option, consider vinyl lattice panels, which mimic the look of painted wood lattice. Span is the measurement across the building from outside supporting wall to outside supporting wall. To integrate a pavilion into the existing landscape, they're usually built square to the house or the nearest structure. It's made entirely of cedar wood with a natural and light finish. Shrubs can serve several purposes around a gazebo. A gradient of 1 in 40 will usually suffice for a garden decking structure and this is recommended as the industry standard. Plus, it will create shelter and a little shade for when you need it, making al fresco dining or lounging all the more enjoyable.
So don't think you need to spend a fortune to make a big statement in your backyard. Next, pour all six footers and allow to fully dry. However, we recommend installing steel brackets for pavilion posts for a couple of reasons. Cut both ends of the beams in a decorative manner, as shown in the diagram. It may help to construct some simple bracing to keep the supports in position overnight. If you feel you do not know how to handle and use tools then its good idea to involve a professional. They can transform an ordinary looking space to a spectacular view.
Now this is quick setting concrete and requires no mixing. We moved the rim back into place and shifted the blocks to fit the frame into the post bases. Remove the layer of vegetation and then level the surface evenly. If you want to see more outdoor plans, check out the rest of our step by step projects and follow the instructions to obtain a professional result. This is simple to apply with roofing nails. In fact, it's a lot cheaper and easier to build gazebos. This cap rail also provides a convenient place to set your iced tea while you're enjoying a summer breeze.
Compact a layer of gravel to the bottom of the holes and then fit the tube forms. You'll have to rent a plate compactor. This will have decking fastened to it later, so they need to be installed now. Then remove the temporary braces, backfill the hole with dirt, and cut away the exposed fiber tubing. Then insert and screw each runner to the connectors. Consider your local construction guidelines and seek approvals before installing one of these beauties for avoiding any mishaps. Drill pilot holes in the wooden braces and lock them into place with decking screws.