Summerhouse Building Plans
Drafts To Craft 12 Feet Four-Sided Gazebo - Some Solutions To Build A Gazebo Effortlessly

Cut six second-layer beams with a decorative curve on one end. Add glue to the joints and make sure the corners are square. It's best to add an inner and outer beam for stability. By this time, the sun was fading, and so were we, so we wrapped up and rehydrated ourselves in an appropriate fashion. Screw it in place with 3-inch screws through predrilled holes. Metal bases like these not only keep the posts secure but (https://www.squaregazeboplans.com/gazebo-blueprints) also keep up off the concrete so the wood doesn't wick up water and prematurely rot. See our guide to choosing your decking boards.
Glad the instructable was useful to you. Repeat for the other short lower supports and carefully tighten the bolts holding the cables. You could use a sealant on the wood to enhance your pergola and make it more appealing. If you want to grow Jasmine or something on your Pergola- you might want to use more beams so that the space in between is closer together. Repeat this process with the other sections. In fact, it's a lot cheaper and easier to build gazebos. In warm climates, the arbor is often built complete with a hot tub. Use a spirit level to ensure the supports are perfectly vertical.
On a larger pergola, however, you don't want the lumber to appear unsubstantial, so it is important to increase the size of the members appropriately. Add more if you'd like to increase the shade below. Use a circular saw or a miter saw to get the job (like this) done in a professional manner. Realign the jig, matching the beginning of the jig with the end of the previous step, and repeat. Building a free standing gazebo in your backyard is a fun project for a weekend, but it requires complex skills and quality materials. Be sure the skirt boards' top edges sit flush with the top of the floor joists.
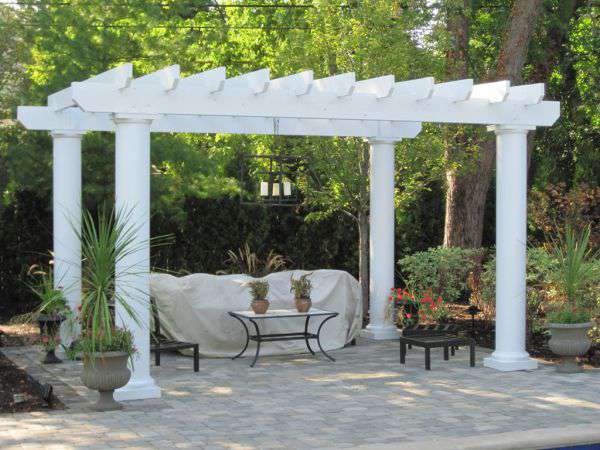
In a common sense, the summerhouse comes to our mind as a structure of pillars and crossbeams with plants to provide shades. Cut off the top of the columns where you have marked, with a circular saw. The screens are held in place on the outside using 1x1 stops nailed along the outer perimeters of the openings. Hold the columns in vertical position and secure each to its bracket with a hammer and heavy-gauge galvanized nails. Trim the bottom edge of the stringer, parallel to the first run. This technique might look complex, but it is straight forward, if you use the right techniques.
Building a pavilion in your outdoor space increases the aesthetic appeal, enhances and defines your home, and increases the value of your home. An optional effect is to notch the roof boards' bottom edges to straddle the crossbeams. A professional would deliver on your expectations in a short period. You can see the felt protection on the sill more clearly here. Building the roof was one of the most challenging tasks in this project. It not only gives a beautiful finished look to the piece, but also eliminates the need for costly and unsightly hardware used to attach planks together.
Use a miter saw to make the angle cut and a jigsaw to make the round cut. You can usually lower the height of a floor by using smaller-width joists and beams. Fill the forms with concrete, while the supports are locked into place with temporarily braces. Set the support hole auger in place at each mark and dig a hole 30 inches deep. Tie markers along the string for the middle and back support positions on that side of the arbor. The joists would eventually be held down with the bolt in the centre post. Make sure you place a nail between the slats, at both ends, in order to get consistent gaps.
The larger the load, the more gunpowder it contains. Mount the doors with four butt hinges, and install latches and handles, and if desired, pneumatic door closers. The easiest way to do this is to use a timber nailer or an electric drill. Take the supports down and cut them to length. Measure from the top of the finished gazebo floor straight down to the ground. Because they come in many shapes and sizes, a new pavilion can be the perfect fit. Softwood is the more common choice for pergolas because it's easier to work with than hardwood, and a bit cheaper.
You should end up with a clear mark left by the screw.