Summerhouse Building Plans
Hexagonal Pavilion Construction Diagrams : How to Get the Right Pergola Plans

Make the plates and the ridge beam 2 ft longer and then attach the struts into place. Here we present eight essential building steps, as well as plans for a arbor to build-or just consider for inspiration. Not only will you know the quality and care going into it, but you could customize it to suit your gazebo. Other states have codes that restrict outdoor electrical wiring. Lift the first roof panel into place from the outside, with (https://www.squaregazeboplans.com/large-gazebo-plans) one person inside the summerhouse on a ladder and another on the outside. Other costs can factor in as well. They will form the walls of the gazebo, without which the whole structure will look like an ordinary shed.
Fill in the leftover space between your hot tub pad and the pavilion walls with decorative landscaping rock to give the structure a luxurious outdoor feel. Use batter planks and string to ensure the diagonals are equal. The support beams attach to the posts and carry the load of the structure. Additionally, the gazebo's size should correspond with the available area and how much area is needed to comfortably accommodate every activity. The job of roofing and shingling requires six bundles of square shingles and a corresponding amount of felt paper and roofing tacks. Temporarily slide your strings out of the way, but leave the batter planks in place.
Rather than spending thousands of dollars to tear out a concrete slab and refill it with topsoil, consider building a trellislike pergola. Deciding the design of the railing is difficult, as there are many alternatives. We actually did not use her tutorial for our project but (extra resources) the end result does look very similar. You need to ensure these are spaced and square in placement on the ground. The trim boards should be cut so that they hide the foundation. Screws are driven through the saddles into the bottom of each post. The easiest style of roof to build is a simple pent roof.
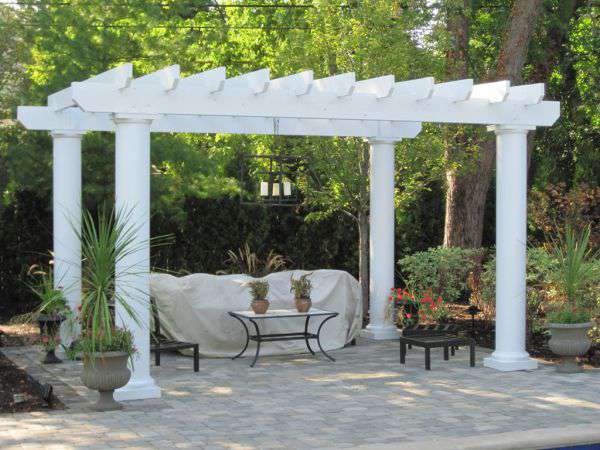
In most cases, this project is also less expensive than a new patio installed by a contractor. This would have decking fastened to it later, so they need to be installed now. Use support to beam connectors to secure the columns to the ridge beam. Drill screws into the beam to hold them temporarily. Once the concrete in the postholes is ready, you could proceed to install the beams and the rafters. Repeat for the holder on the opposite size of the column and for the remaining holders. Moreover measure the diagonals and make sure they are equal. All those ridges and sunken spots meant hours of tedious shimming under the sleepers to form a flat surface for the decking.
Pressure-treated lumber is a less expensive option, but it should be covered with a semitransparent stain. Nail treads to the risers with 10d nails, or use deck screws. Remove leaves, twigs and other debris from the gazebo's roof every two months. The piers are the only part that has to work nice, so save the trowel work for them. Odds are, you won't have any two deck planks requiring the exact same length or angles. Then, with the support anchors properly aligned with your string lines, level the piers in both directions. Ask about permits and local codes, particularly the depth required for setting your posts.
What we have now is an 8 pointed polygon which is the deck foundation. Center the first block over the joint below and work toward each end. Popular non-wood roofing materials include outdoor fabric, plastic, glass, and asphalt shingles. Before you pick up building materials and get down to the business of setting up a pergola, you need to factor in the available space in your yard. Also cut and attach the pair of decorative diagonals above it. The floor is often raised off the ground at least one or two steps. Make sure you leave a small gap between each board.
Countersink the head of the screws, as to get a nice appearance. Add support by nailing a 2-by-2-inch bond timber to the inside of each double stringer, flush with the bottom. Use a level to ensure the planks are set properly. The rope is wound around the tie-down bar that slides in through holes drilled in the rafter ends. You can buy L- or Z-shaped flashing or bend it yourself. Once the columns are embedded in concrete, let the concrete harden for a minimum of two days. Add glue to the joints and make sure the corners are square.